幾種常見網關的比較
Nginx, 模塊化設計的反向代理軟件,C 語言開發
OpenResty, 以 Nginx 為核心的 Web 開發平台,可以解析執行 Lua 腳本
Kong, OpenResty 的一個應用,是一個 API 網關,具有 API 管理和請求代理的功能,使用 PostgreSQL 存儲
APISIX, 替換了 Kong 的 PostgreSQL 為 Etcd,基於 Nginx 的核心庫實現
APISIX 的優勢在於提供了 API 的管理和擴展能力,讓網關不再僅僅轉發服務,而是可以被配置、定制化。相較於 Nginx,APISIX 使用的是動態路由,避免了配置之後 reload 產生的風險。同時,APISIX 支持 HTTP(S)、HTTP2、Dubbo、QUIC、MQTT、TCP/UDP 等更多的協議,具有更好的使用生態。

上面是 APISIX 的架構圖,數據面處理客戶端請求,控制面管理路由。
Apache APISIX是一個動態的、實時的、高性能的 API 網關。它提供豐富的流量管理功能,例如負載均衡、動態上游服務、金絲雀發布、斷路、身份驗證、可觀察性等。您可以使用 Apache APISIX 來處理傳統的南北流量,以及服務之間的東西流量。 2019 年 10 月份,深圳支流科技把網關 APISIX 貢獻給 Apache 基金會,他們提供商業版本,以下內容基於社區版本。
加入helm源
$ helm repo add apisix https://charts.apiseven.com
$ helm repo update
$ helm search repo apisix
安裝apisix
helm install apisix apisix/apisix --set gateway.type=NodePort --set admin.allow.ipList="{0.0.0.0/0}" -n apisix --create-namespace
NAME: apisix
LAST DEPLOYED: Fri Sep 17 10:39:07 2021
NAMESPACE: apisix
STATUS: deployed
REVISION: 1
TEST SUITE: None
NOTES:
1. Get the application URL by running these commands:
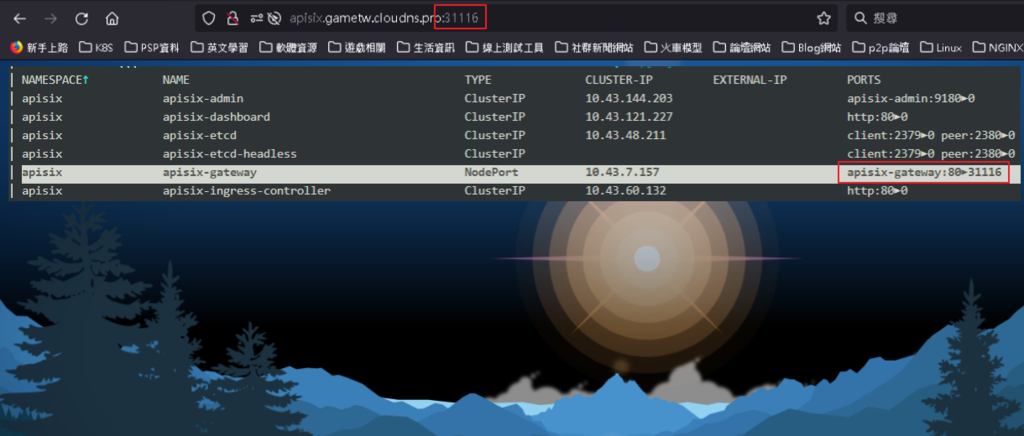
export NODE_PORT=$(kubectl get --namespace apisix -o jsonpath="{.spec.ports[0].nodePort}" services apisix-gateway)
export NODE_IP=$(kubectl get nodes --namespace apisix -o jsonpath="{.items[0].status.addresses[0].address}")
echo http://$NODE_IP:$NODE_PORT
查看apisix-admin的接口key
$ export POD_NAME=$(kubectl get pods --namespace apisix -l "app.kubernetes.io/instance=apisix,app.kubernetes.io/name=apisix" -o jsonpath="{.items[0].metadata.name}")
$ kubectl -n apisix exec -it $POD_NAME cat conf/config.yaml |grep key
kubectl exec [POD] [COMMAND] is DEPRECATED and will be removed in a future version. Use kubectl exec [POD] -- [COMMAND] instead.
Defaulted container "apisix" out of: apisix, wait-etcd (init)
  admin_key:
      key: edd1c9f034335f136f87ad84b625c8f1
      key: 4054f7cf07e344346cd3f287985e76a2
    # ipc_shared_dict: 100m # custom shared cache, format: `cache-key: cache-size`
  - authz-keycloak
  - key-auth
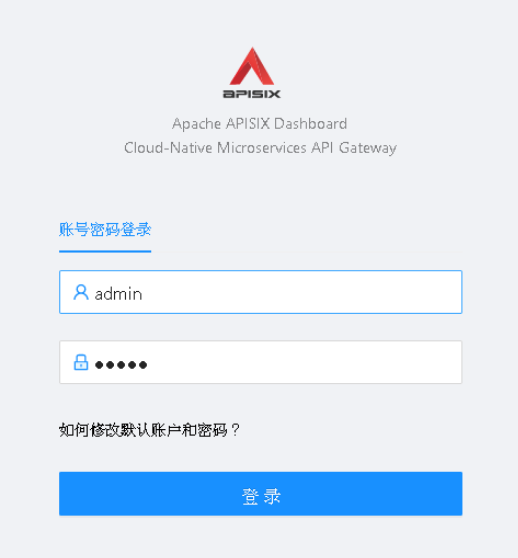
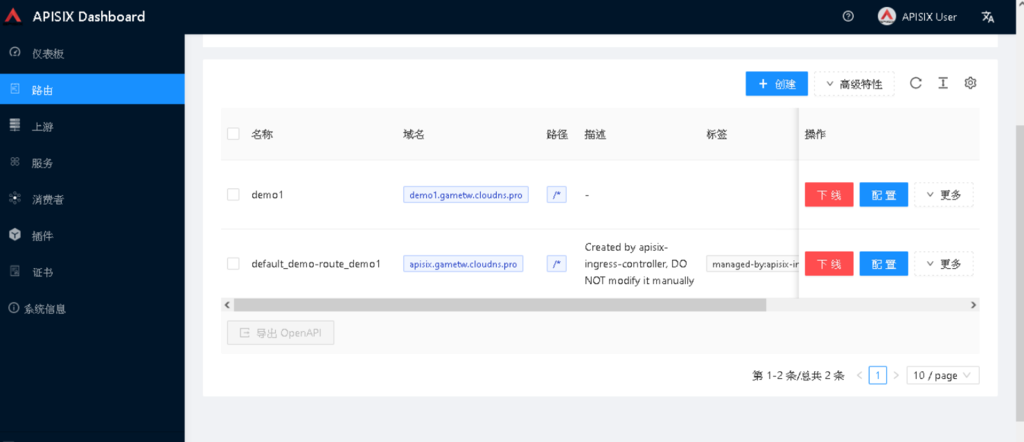
安裝Dashboard 預設admin / admin
helm install apisix-dashboard apisix/apisix-dashboard -n apisix --create-namespace
NAME: apisix-dashboard
LAST DEPLOYED: Fri Sep 17 10:41:37 2021
NAMESPACE: apisix
STATUS: deployed
REVISION: 1
NOTES:
1. Get the application URL by running these commands:
  export POD_NAME=$(kubectl get pods --namespace apisix -l "app.kubernetes.io/name=apisix-dashboard,app.kubernetes.io/instance=apisix-dashboard" -o jsonpath="{.items[0].metadata.name}")
  export CONTAINER_PORT=$(kubectl get pod --namespace apisix $POD_NAME -o jsonpath="{.spec.containers[0].ports[0].containerPort}")
  echo "Visit http://127.0.0.1:8080 to use your application"
  kubectl --namespace apisix port-forward $POD_NAME 8080:$CONTAINER_PORT
安裝apisix-ingress-controller
 helm install apisix-ingress-controller apisix/apisix-ingress-controller --set config.apisix.baseURL=http://apisix-admin:9180/apisix/admin --set config.apisix.adminKey=edd1c9f034335f136f87ad84b625c8f1 -n apisix
NAME: apisix-ingress-controller
LAST DEPLOYED: Fri Sep 17 10:46:15 2021
NAMESPACE: apisix
STATUS: deployed
REVISION: 1
TEST SUITE: None
NOTES:
Get the application URL by running these commands:
export POD_NAME=$(kubectl get pods --namespace apisix -l "app.kubernetes.io/name=apisix-ingress-controller,app.kubernetes.io/instance=apisix-ingress-controller" -o jsonpath="{.items[0].metadata.name}")
export CONTAINER_PORT=$(kubectl get pod --namespace apisix $POD_NAME -o jsonpath="{.spec.containers[0].ports[0].containerPort}")
echo "Visit http://127.0.0.1:8080 to use your application"
kubectl --namespace apisix port-forward $POD_NAME 8080:$CONTAINER_PORT
檢查安裝好的服務
helm list -n apisix
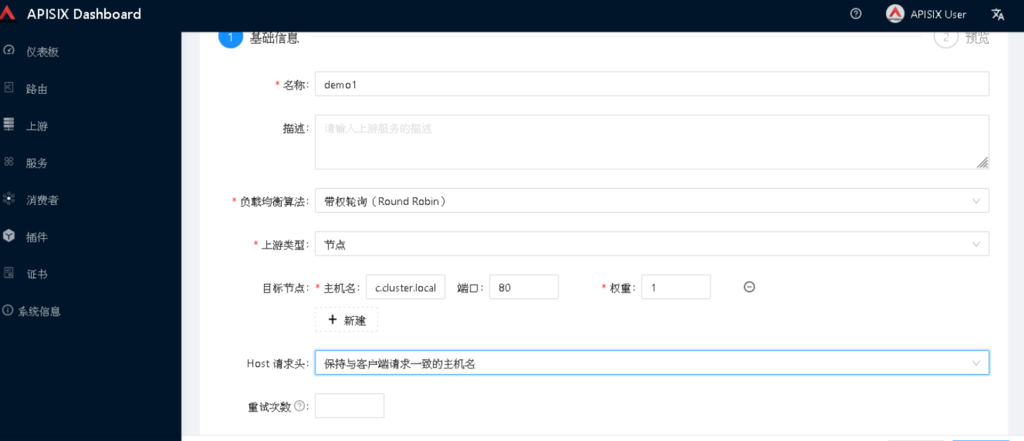
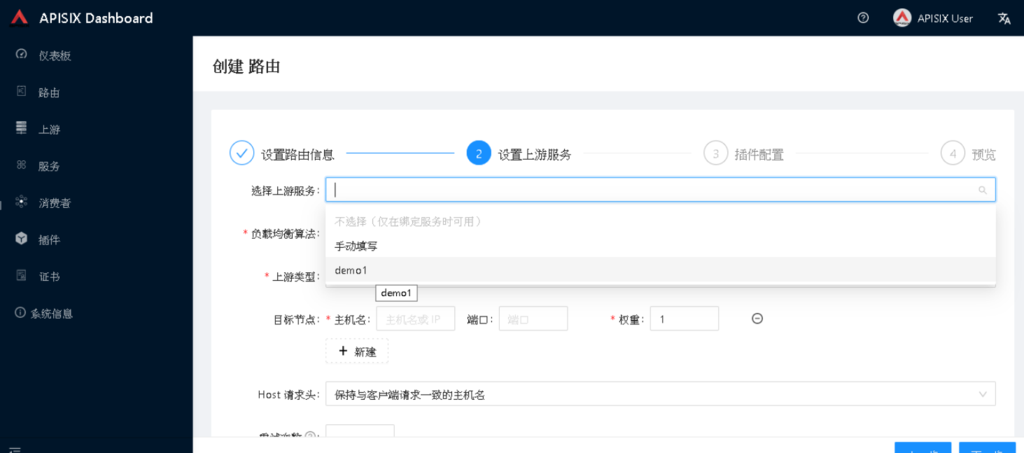

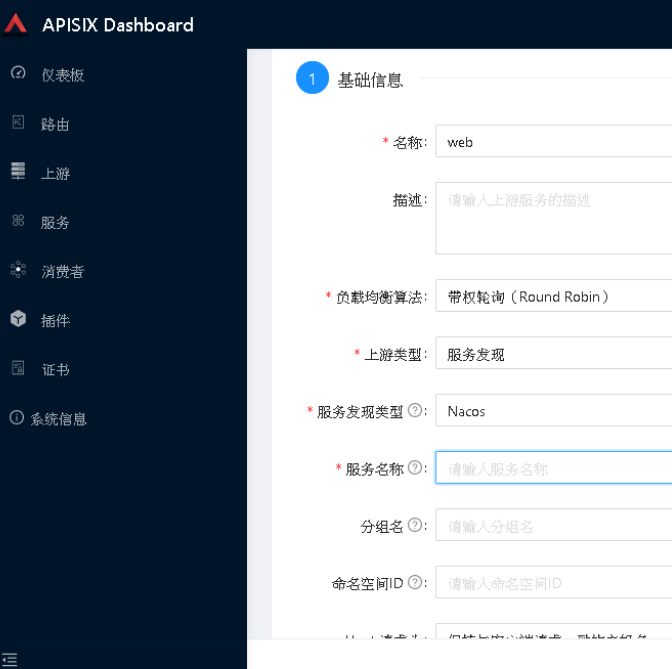
上游類型也可以整合nacos
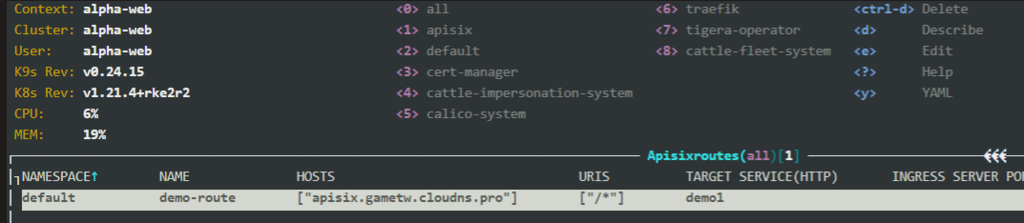
ApisixRoute路由yaml範例設定
------------------------------------
配置路由代理-使用ingress的方式 apisix-ingress.yaml
apiVersion: networking.k8s.io/v1
kind: Ingress
metadata:
  name: demo1-ingress
spec:
  ingressClassName: apisix
  rules:
  - host: ingress.gametw.cloudns.pro
    http:
      paths:
        - path: /
          pathType: Prefix
          backend:
            service:
              name: demo1
              port:
                number: 80

------------------------------------
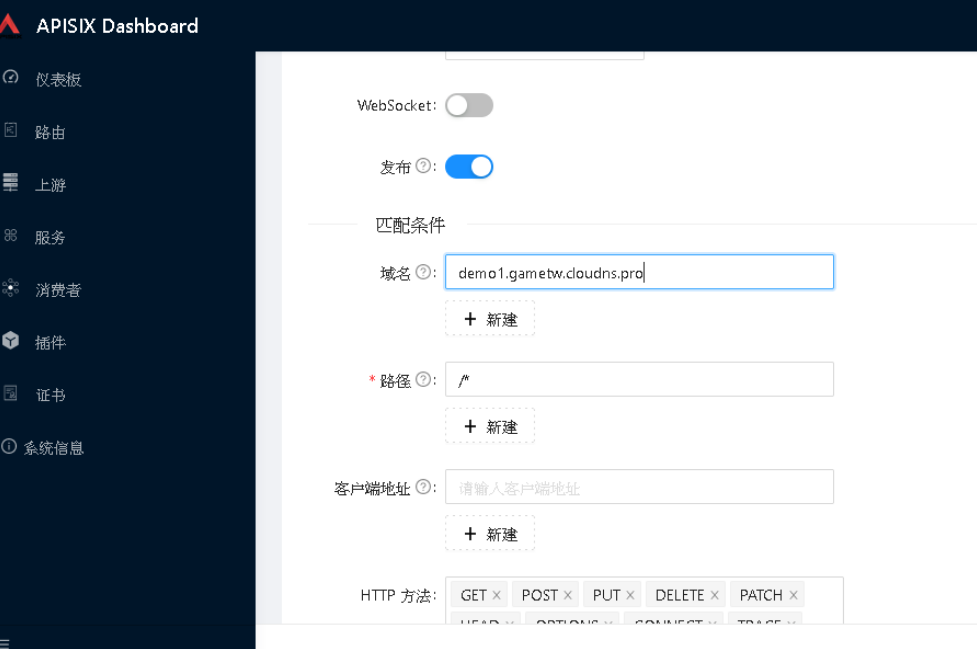
配置路由代理-使用apisix的方式 apisix-route.yaml
apiVersion: apisix.apache.org/v1
kind: ApisixRoute
metadata:
  name: demo1-route
spec:
  http:
  - name: demo1.gametw.cloudns.pro
    match:
      hosts:
      - apisix.
      paths:
      - "/*"
    backend:
     serviceName: demo1
     servicePort: 80
------------------------------------
參考資料
https://www.hi-linux.com/posts/16167.html
https://www.apiseven.com/zh/blog/why-we-need-Apache-APISIX
https://cloudnative.to/blog/full-traffic-api-gateway-based-on-apache-apisix/
https://blog.csdn.net/u014087707/article/details/119877958
https://www.hi-linux.com/posts/16167.html
https://www.apiseven.com/zh/blog/why-we-need-Apache-APISIX
https://cloudnative.to/blog/full-traffic-api-gateway-based-on-apache-apisix/
https://blog.csdn.net/u014087707/article/details/119877958