運行一個Daemonset的控制器來管理節點,禁用巨頁,因為MongoDB 是建議關掉 Transparent Huge page的 否則可能導致性能下降,內存鎖,甚至系統重啟等問題,當然最好是調整Mongodb 的 Pod 所在的節點
# hostvm-ds.yaml
apiVersion: apps/v1
kind: DaemonSet
metadata:
  name: hostvm-configurer
  labels:
    app: startup-script
spec:
  selector:
    matchLabels:
      app: startup-script
  template:
    metadata:
      labels:
        app: startup-script
    spec:
      hostPID: true
      containers:
      - name: hostvm-configurer
        image: cnych/startup-script:v1
        securityContext:
          privileged: true
        env:
        - name: STARTUP_SCRIPT
          value: |
            #! /bin/bash
            set -o errexit
            set -o pipefail
            set -o nounset

            # Disable hugepages
            echo 'never' > /sys/kernel/mm/transparent_hugepage/enabled
            echo 'never' > /sys/kernel/mm/transparent_hugepage/defrag
然後配置 ServiceAccount、Headless SVC 和 StatefulSet,資源清單文件如下
# mongo.yaml
apiVersion: v1
kind: Namespace
metadata:
  name: mongo
---
apiVersion: v1
kind: ServiceAccount
metadata:
  name: mongo
  namespace: mongo
---
apiVersion: rbac.authorization.k8s.io/v1
kind: ClusterRoleBinding
metadata:
  name: mongo
subjects:
  - kind: ServiceAccount
    name: mongo
    namespace: mongo
roleRef:
  kind: ClusterRole
  name: cluster-admin
  apiGroup: rbac.authorization.k8s.io
---
apiVersion: v1
kind: Service
metadata:
 name: mongo
 namespace: mongo
 labels:
   name: mongo
spec:
 ports:
 - port: 27017
   targetPort: 27017
 clusterIP: None
 selector:
   role: mongo
---
apiVersion: apps/v1
kind: StatefulSet
metadata:
  name: mongo
  namespace: mongo
spec:
  serviceName: mongo
  replicas: 3
  selector:
    matchLabels:
      role: mongo
      environment: staging
  template:
    metadata:
      labels:
        role: mongo
        environment: staging
        replicaset: MainRepSet
    spec:
      affinity:
        podAntiAffinity:  # 添加 Pod 反親和性,將副本打散在不同的節點
          preferredDuringSchedulingIgnoredDuringExecution:  # 軟策略
          - weight: 100
            podAffinityTerm:
              labelSelector:
                matchExpressions:
                - key: replicaset
                  operator: In
                  values:
                  - MainRepSet
              topologyKey: kubernetes.io/hostname
      terminationGracePeriodSeconds: 10
      serviceAccountName: mongo
      containers:
        - name: mongo
          image: mongo:5.0.8
          command:
            - mongod
            - "--wiredTigerCacheSizeGB"
            - "0.25"
            - "--bind_ip"
            - "0.0.0.0"
            - "--replSet"
            - MainRepSet
            #- "--smallfiles"
            #- "--noprealloc"
          ports:
            - containerPort: 27017
          volumeMounts:
            - name: mongo-data
              mountPath: /data/db
          resources:
            requests:
              cpu: 1
              memory: 2Gi
        - name: mongo-sidecar
          image: cvallance/mongo-k8s-sidecar
          env:
            - name: MONGO_SIDECAR_POD_LABELS
              value: "role=mongo,environment=staging"
            - name: KUBE_NAMESPACE
              value: "mongo"
            - name: KUBERNETES_MONGO_SERVICE_NAME
              value: "mongo"
  volumeClaimTemplates:
  - metadata:
      name: mongo-data
    spec:
      accessModes: [ "ReadWriteOnce" ]
      storageClassName: gluster-heketi-storageclass  # 提供一個可用的 Storageclass
      resources:
        requests:
          storage: 1Gi
這裡我們給 Mongo 的 Pod 添加了一個 sidecar 容器,主要用於副本集的配置,該 sidecar 會每5s檢查一次新成員。通過幾個環境變量配置指定了 Pod 的標籤、命名空間和 Service。
為了保證應用的穩定性,我們通過 podAntiAffinity 指定了 Pod 的反親和性,這樣可以保證不會有兩個副本出現在同一個節點上。
此外需要提供一個可用的 StorageClass,這樣可以保證不同的副本數據持久化到不同的 PV。
直接運行上面的兩個資源清單文件即可:
$ kubectl apply -f hostvm-ds.yaml
$ kubectl apply -f mongo.yaml
查看狀態

當然如果想從集群外部訪問 mongo,可以為這些 Pod 部署一些內部的負載均衡器,或者使用 nginx-ingress、traefik 這些 Ingress 控制器來創建 Ingress 暴露出去。
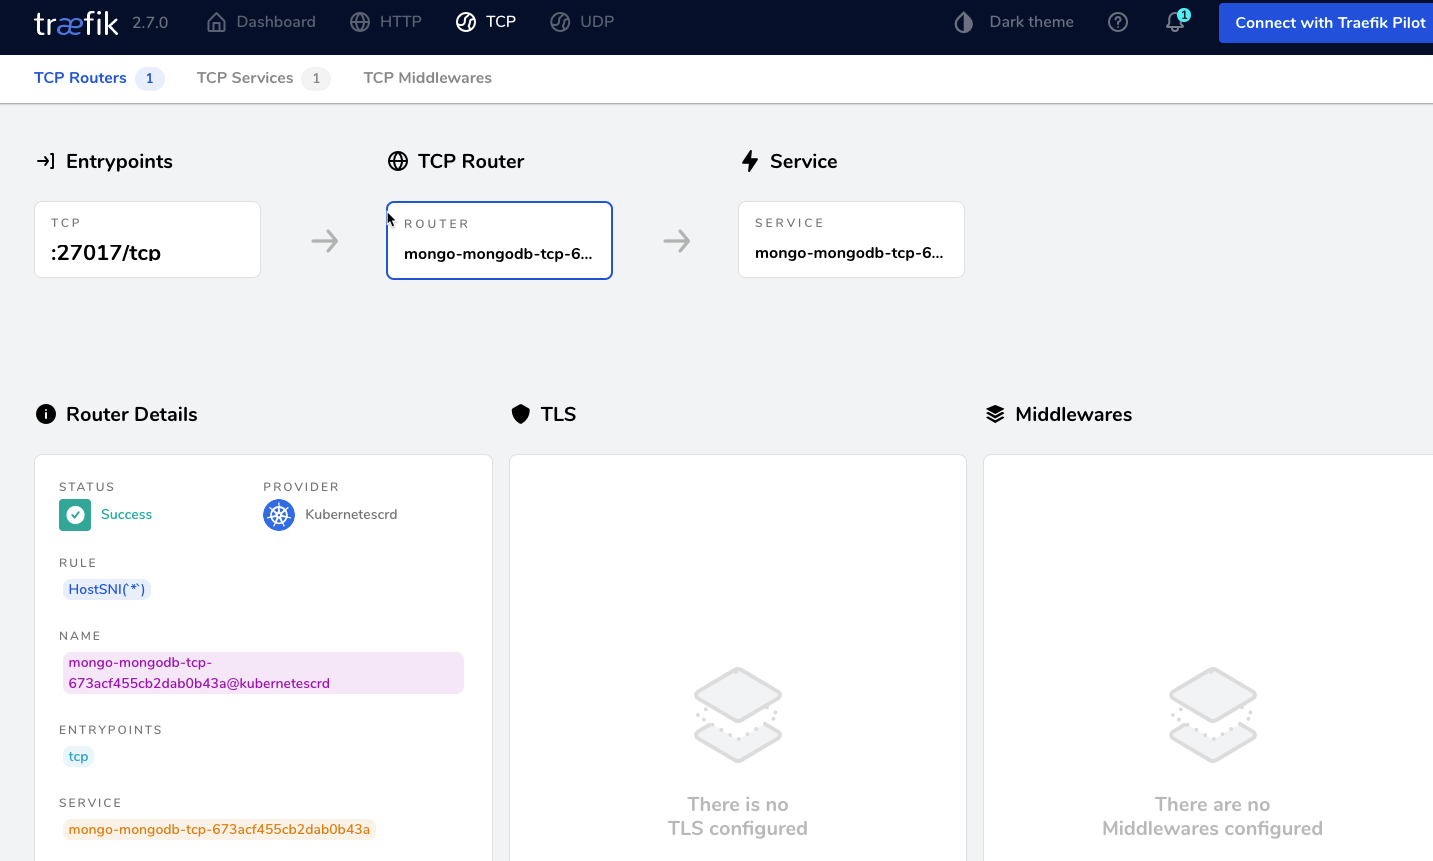
我們集群中部署了 Traefik v2.7 版本,該版本是支持 TCP 服務的,我們可以通過創建一個如下所示的 IngressRoute 對象來暴露 mongo 服務:
# ingressroute-tcp.yaml
apiVersion: traefik.containo.us/v1alpha1
kind: IngressRouteTCP
metadata:
  name: mongodb-tcp
  namespace: mongo
spec:
  entryPoints:
  - tcp  # 需要通过静态方式开启 mongo 的入口点
  routes:
  - match: HostSNI(`*`)
    services:
    - name: mongo
      port: 27017
kubectl apply -f ingressroute-tcp.yaml -n mongo
設定密碼
##進入mongodb
kubectl -n mongo exec -ti mongo-0 -- mongo admin

Defaulted container "mongo" out of: mongo, mongo-sidecar
MongoDB shell version v5.0.8
connecting to: mongodb://127.0.0.1:27017/admin?compressors=disabled&gssapiServiceName=mongodb
Implicit session: session { "id" : UUID("f99f8e06-c8e0-4e4d-8dba-46316285e737") }
MongoDB server version: 5.0.8
================
Warning: the "mongo" shell has been superseded by "mongosh",
which delivers improved usability and compatibility.The "mongo" shell has been deprecated and will be removed in
an upcoming release.
For installation instructions, see
https://docs.mongodb.com/mongodb-shell/install/
================
Welcome to the MongoDB shell.
For interactive help, type "help".
For more comprehensive documentation, see
        https://docs.mongodb.com/
Questions? Try the MongoDB Developer Community Forums
        https://community.mongodb.com
---
The server generated these startup warnings when booting:
        2022-06-01T03:29:34.799+00:00: Access control is not enabled for the database. Read and write access to data and configuration is unrestricted
        2022-06-01T03:29:34.799+00:00: You are running this process as the root user, which is not recommended
        2022-06-01T03:29:34.799+00:00: /sys/kernel/mm/transparent_hugepage/enabled is 'always'. We suggest setting it to 'never'
---
---
        Enable MongoDB's free cloud-based monitoring service, which will then receive and display
        metrics about your deployment (disk utilization, CPU, operation statistics, etc).

        The monitoring data will be available on a MongoDB website with a unique URL accessible to you
        and anyone you share the URL with. MongoDB may use this information to make product
        improvements and to suggest MongoDB products and deployment options to you.

        To enable free monitoring, run the following command: db.enableFreeMonitoring()
        To permanently disable this reminder, run the following command: db.disableFreeMonitoring()
---
MainRepSet:SECONDARY>
##設定密碼
> db.createUser({ user:'admin',pwd:'910921',roles:[ { role:'userAdminAnyDatabase', db: 'admin'}]});
Successfully added user: {
"user" : "admin",
"roles" : [
{
"role" : "userAdminAnyDatabase",
"db" : "admin"
}
]
}
> db.auth('admin', '910921')
1
> db.changeUserPassword("admin","390191");