使用環境檢查腳本
curl -sSfL https://raw.githubusercontent.com/longhorn/longhorn/v1.1.2/scripts/environment_check.sh | bash
結果如下
daemonset.apps/longhorn-environment-check created
waiting for pods to become ready (0/3)
all pods ready (3/3)
MountPropagation is enabled!
cleaning up...
daemonset.apps "longhorn-environment-check" deleted
clean up complete
安裝 open-iscsi
kubectl apply -f https://raw.githubusercontent.com/longhorn/longhorn/v1.1.2/deploy/prerequisite/longhorn-iscsi-installation.yaml
部署完成後,運行以下命令來檢查安裝程序的 pod 狀態:
kubectl get pod | grep longhorn-iscsi-installation
也可以通過以下命令查看日誌,查看安裝結果:
kubectl logs longhorn-iscsi-installation-pzb7r -c iscsi-installation
安裝 NFSv4 客戶端
apt-get install nfs-common
yum install nfs-utils
nfs安裝程序
kubectl apply -f https://raw.githubusercontent.com/longhorn/longhorn/v1.1.2/deploy/prerequisite/longhorn-nfs-installation.yaml
部署完成後,運行以下命令來檢查安裝程序的 pod 狀態:
kubectl get pod | grep longhorn-nfs-installation
NAME READY STATUS RESTARTS AGE
longhorn-nfs-installation-t2v9v 1/1 Running 0 143m
longhorn-nfs-installation-7nphm 1/1 Running 0 143m
安裝 Longhorn
kubectl apply -f https://raw.githubusercontent.com/longhorn/longhorn/v1.1.2/deploy/longhorn.yaml
監視安裝進度的一種方法是觀察在longhorn-system命名空間中創建的 pod :
kubectl get pods \
--namespace longhorn-system \
--watch
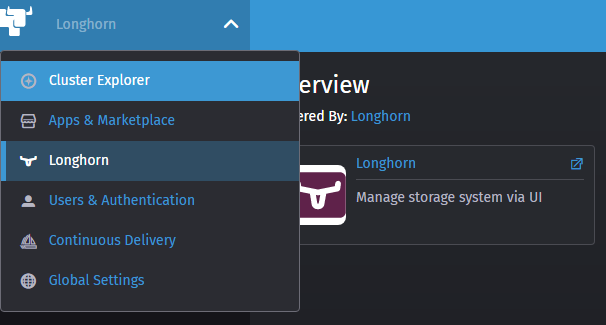
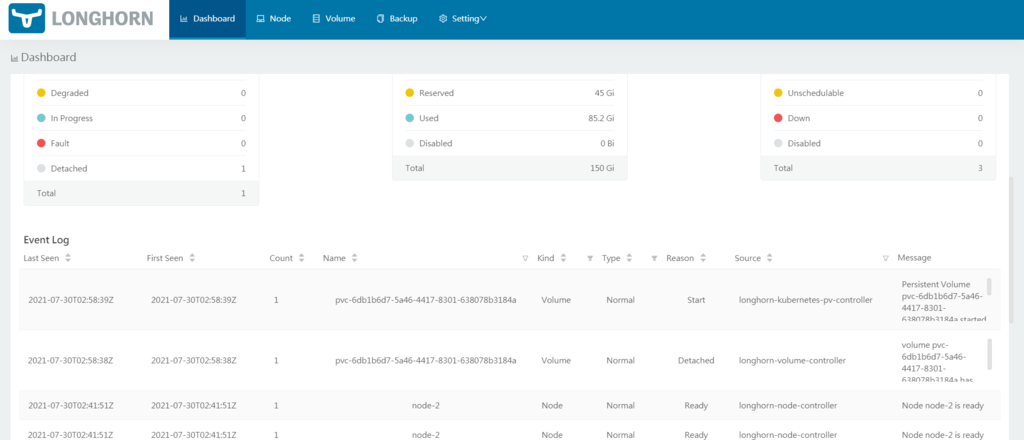
後台介面可以從rancher ui進入
使用以下命令創建一個名為的 StorageClass longhorn:
kubectl create -f https://raw.githubusercontent.com/longhorn/longhorn/v1.1.2/examples/storageclass.yaml
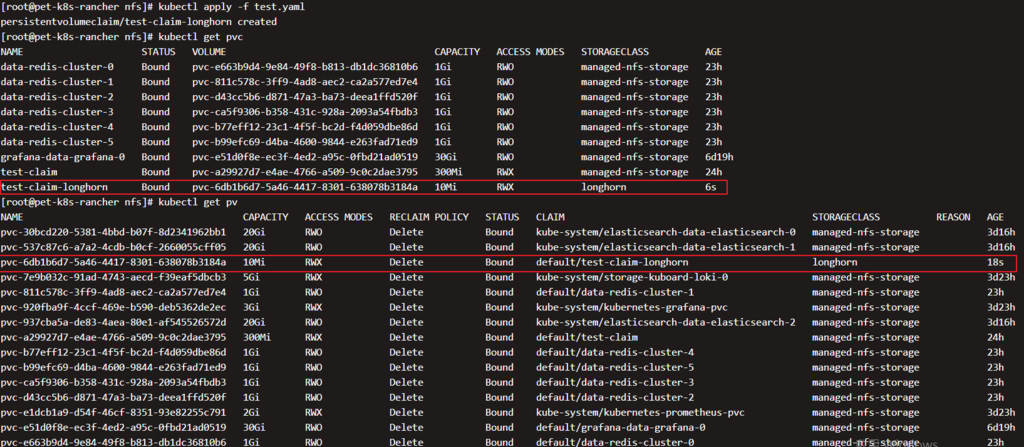
驗證測試
| kind: PersistentVolumeClaim apiVersion: v1 metadata: name: test-claim-longhorn annotations: volume.beta.kubernetes.io/storage-class: "longhorn" spec: storageClassName: longhorn accessModes: - ReadWriteMany resources: requests: storage: 1Mi |